Who are Paperbox
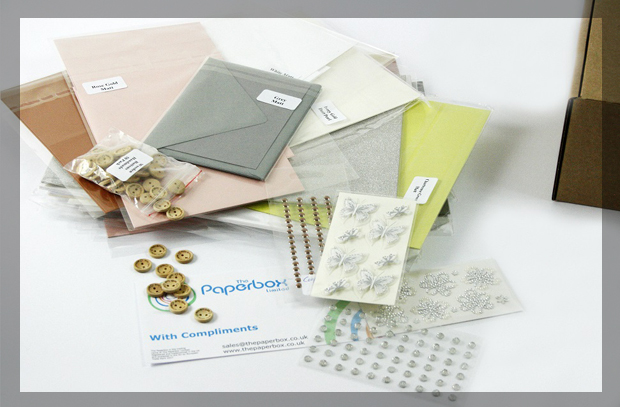
This month I received some rather fabulous materials fromThe Paperbox, who are a great resource for your own, bespoke, handmade wedding stationery and invitation cards. They have a fantastic range of invitations and accessories. Whether you have a rustic Kraft theme, want a simple understated elegant theme, or even vintage, they have it all!But they are not restricted to supplying just wedding stationery! There is a whole array of card making accessories such as gems, ribbons, lace and string, with papers such as metallic, non-shed glitter and embossed to name a few.
With so much choice the only limitation is your imagination!
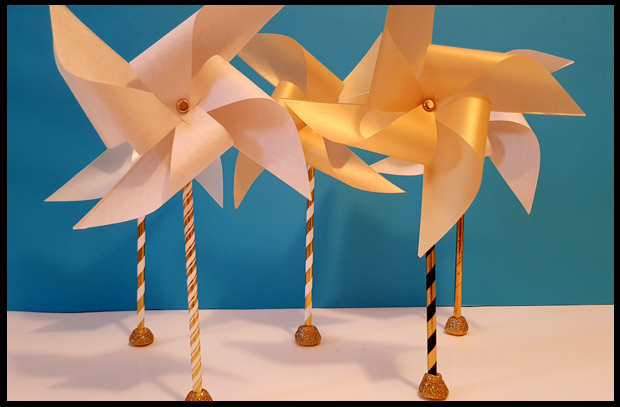
With a gorgeous selection of oatmeal, whites and bronze papers I decided to make some pinwheels, which to my surprise are extremely easy to make!
Materials needed for Pinwheels
Selection of Paperbox papersClay & glitter for the base
Paper fasteners
Pencil
Craft knife/scissors
Hole punch
Biodegradable straws*
How to make Pinwheels
- I started off by squashing the top of the straws and punching a hole through them, ready for the final step!
- Ensure each piece of paper is a solid square shape. The quickest and easiest way to do this is to take the top right-hand corner and fold along the left side of the paper to form a crease. Take the left top corner and fold along the right side and form a crease. Cut along the bottom of the creases to give a solid square shape.
- Cut along the creases, but leave approximately one third from the middle uncut.
- With your hole punch add a hole to the left of each new triangle and in the middle, if the hole punch does not reach the middle easily use a pencil.
- Take each corner with the hole and meet them up in the middle.
- Place a straw at the back, lining up all the holes, put a paper fastener through the corners of the paper and the straw.
- Bend the paper fastener lose, like a T shape behind the straw to enable the paper pinwheel to spin effortlessly.
That is all there is to it!
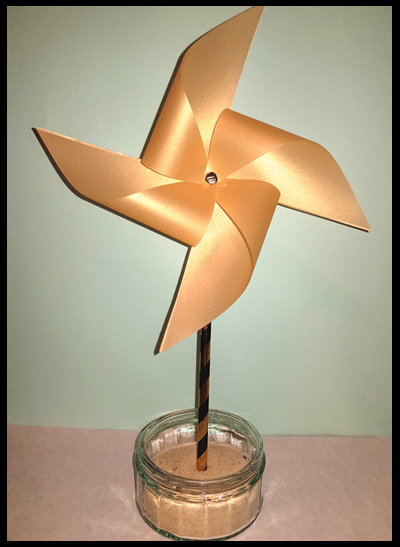
You can obtain small bottles to hold your pinwheels, place them in jars with sand or create little stands as I did with Fimo clay and covered them with glitter.
I must admit, I'm rather loving the papers from Paperbox, and feel these give my pinwheels a rather elegant look, and wouldn't look out of place on a wedding table centrepiece, especially if you're on a budget, or even as little favours for children!
Lovely quick and easy craft to make with the children, with the option to decorate your papers with gems, drawings, stickers the choices really are endless. If you do attempt this craft please feel free to leave me a link to your pinwheels or even post them up on my Facebook page.
Happy crafting.
*Afflicatiated link


I've always admired this style of windmill but never considered that they could be as simple as you say to make. Yours look lovely
ReplyDeleteThey are so quick and easy to make :)
Delete